Table of Contents
Content Error or Suggest an Edit
Notice a grammatical error or technical inaccuracy? Let us know; we will give you credit!
If you have a Cloudways server and are looking to back up one or more WordPress instances to Snapshooter as a secondary or tertiary backup, it’s possible. However, the automatic setup will not work, and you will need to use the manual method.
Step 1 – Add New Server Manually on Snapshooter
If you tried to run the automatic setup script on your Cloudways server via SSH, it most likely won’t work. This is due to the fact that Cloudways ignores the $HOME/.ssh/authorized_keys file.
Instead, you have to use the Cloudways control panel to add the Snapshooter SSH key to your Cloudways server.
- Login to Snapshooter.
- Click on “Servers” under “My Resources”
3. Click on “Connect Server +”

4. Click on “or Manual Setup”

5. Copy the text in the box below “Paste the following into your ~/.ssh/authorized_keys” and save it somewhere as we will need it for the next step. (I’ve hidden the public SSH key in the screenshot below)
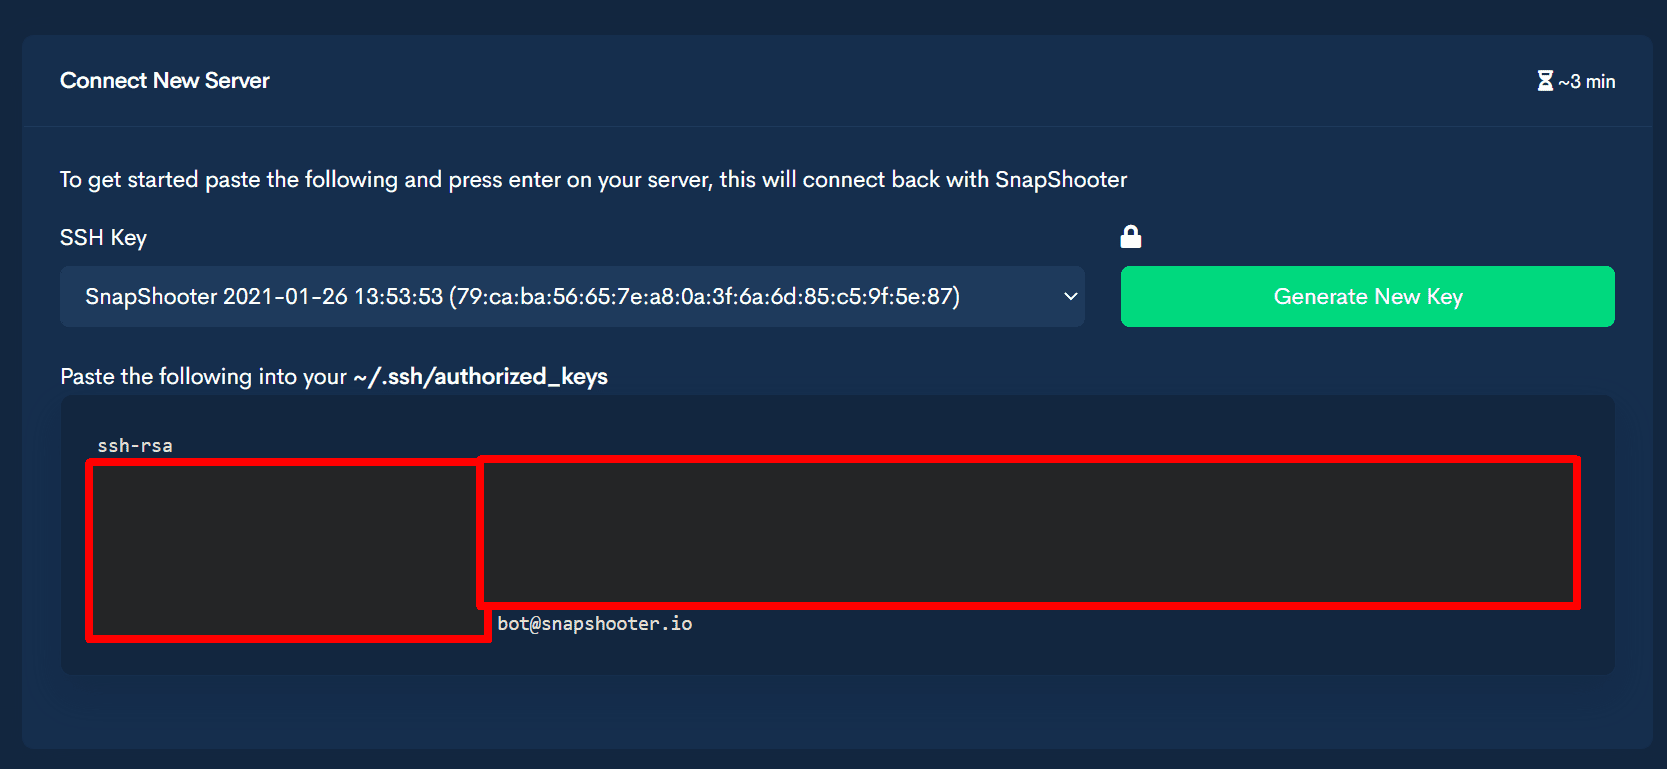
Don’t close your Snapshooter browser window, we’ll need to continue the manual setup.
Step 2 – Add SSH Key to Cloudways
- Open a new browser window and login to your Cloudways account.
- Click on the server you want to backup.
- Click “Master Credentials.
- Then click “SSH Public Keys”

5. You will then be presented with a screen to add an SSH Key. Click on “Add”.
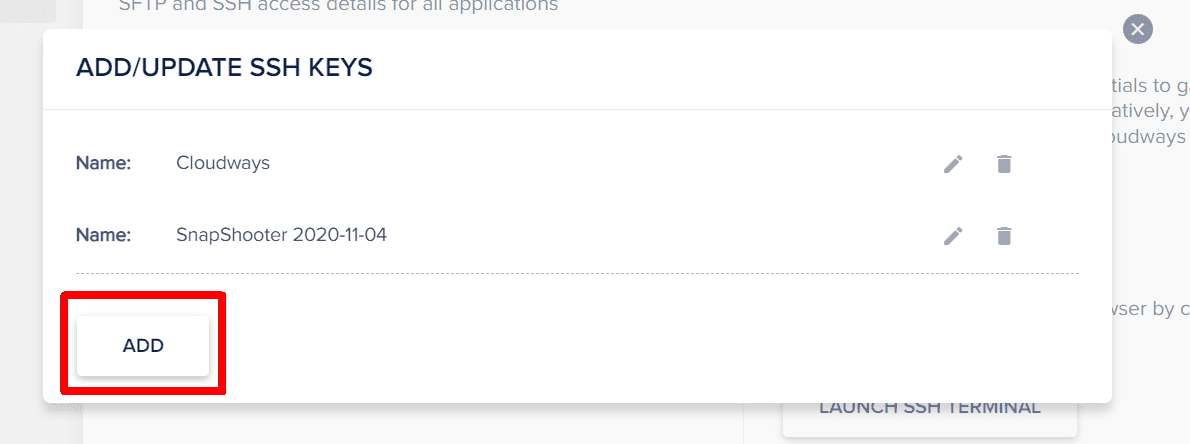
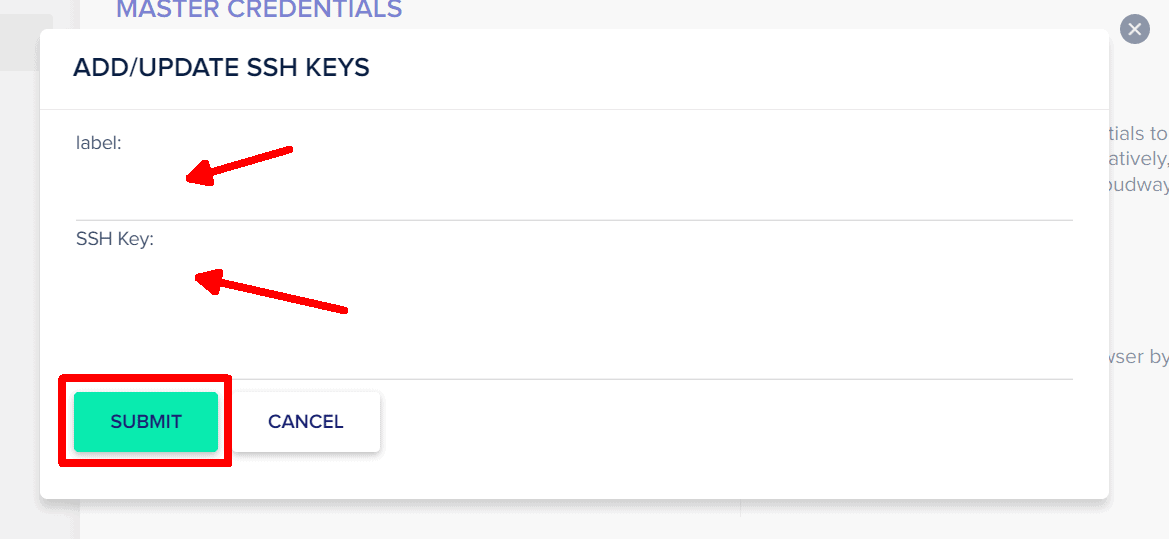
6. You’ll then be presented with two text boxes. Under the label, you can enter in the name of the SSH key you’re adding. I suggest simply “Snapshooter”. In the second box “SSH Key:”, you will want to paste in the public SSH key from Step 1.
Step 3 – Add Server Information to Snapshooter
If you switch back to your Snapshooter window, we can now fill out the server information.
- Server Name: Enter the name of your server.
- SSH Host: Enter the IP Address of your server, located on the Master Credentials page on Cloudways
- SSH User: Enter the Username on the Master Credentials page on Cloudways
- SSH Port: Leave this as 22
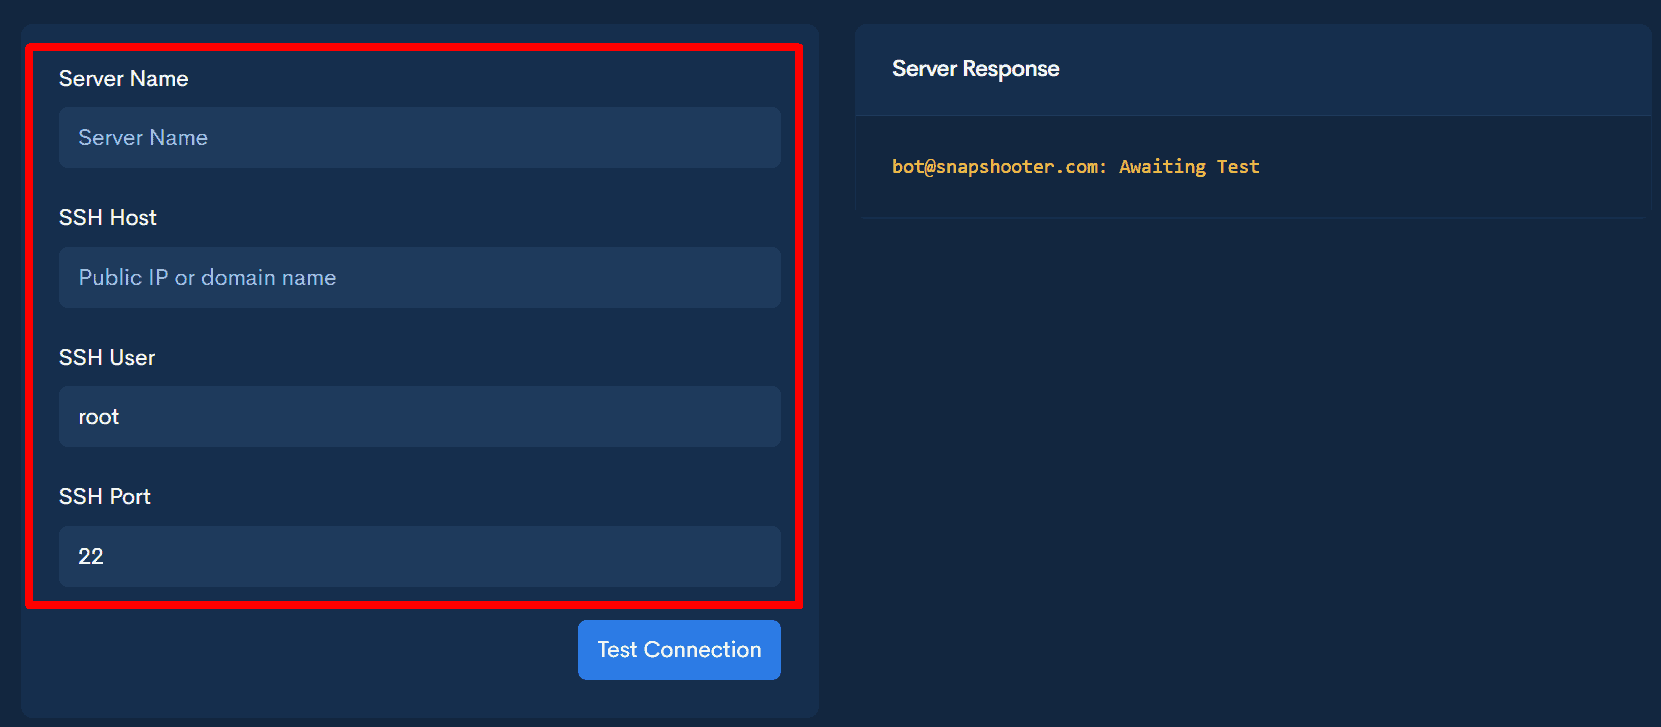
Once you’ve completed entering in the above information, you can click on “Test Connection”. On the right-hand side, you should see a log of the test, and if you did everything right the server should be added.
Step 4 – Set up a Backup
- You can now proceed with setting up a backup job for this server. Click on “Backup Jobs” under “Backups” on the left-hand menu. Then click “Create New Job +”
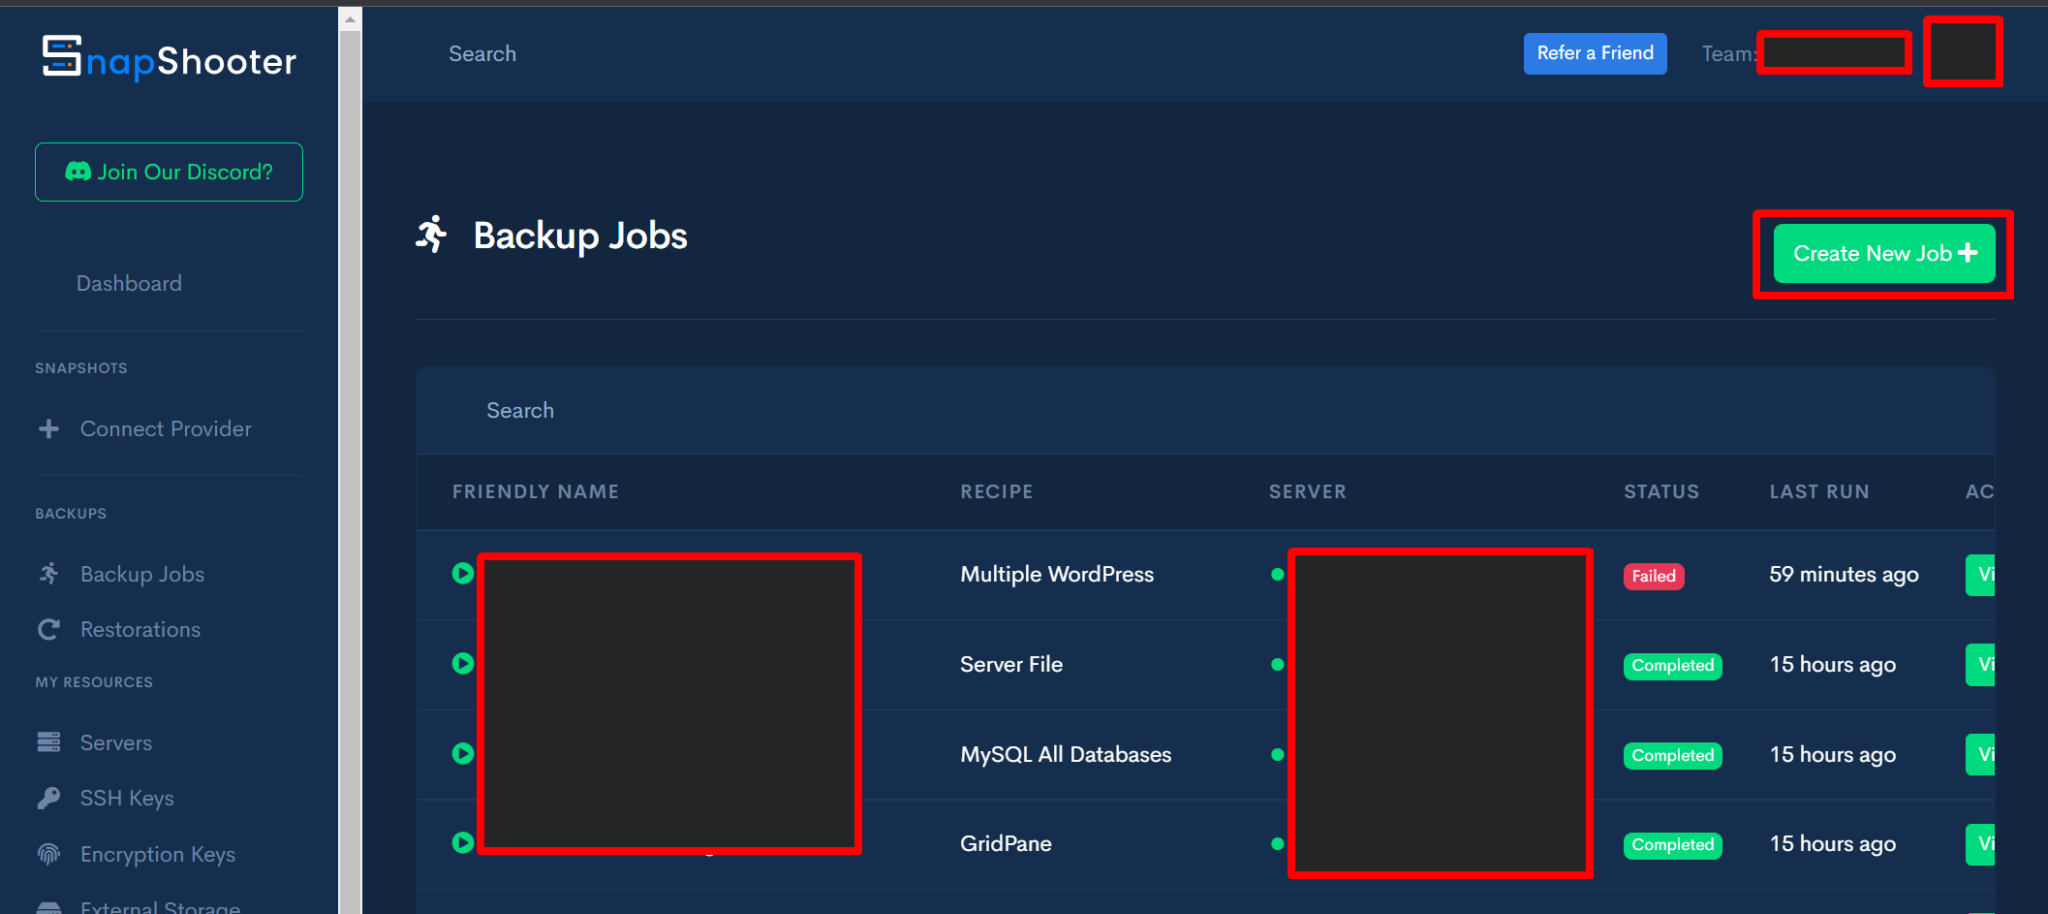
2. Follow on the on-screen instructions and when asked to select your server, select the server you named in Step 3.
